User Guide of Magento 2 Sitemap Generator
At the backend, go to FME EXTENSIONS > Configurations. Here you can find the extension configurations.
General Configurations
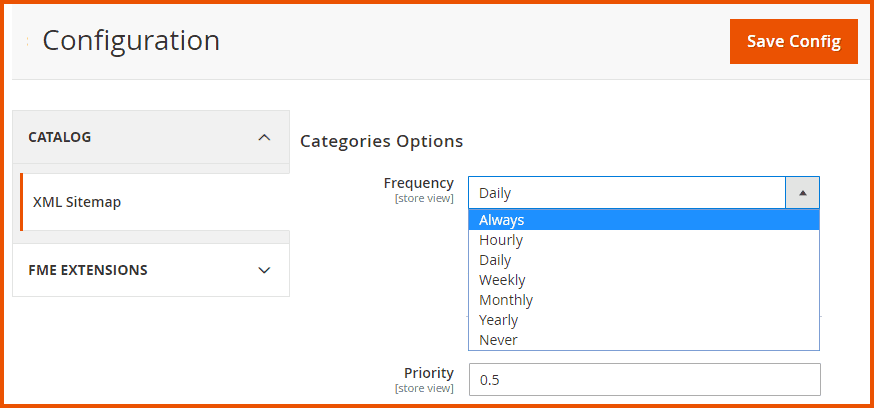
XML Sitemap > Categories Options
- Frequency: Select frequency for category page updates. The option includes (Always, Hourly, Daily, Weekly, Monthly, Yearly and Never)
- Priority: Enter priority from the range (0.0 - 1.0), set higher priority for homepages, etc.
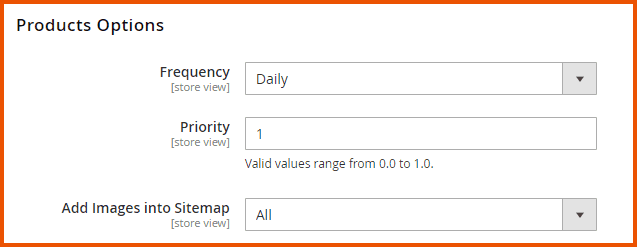
XML Sitemap > Products Options
-
Frequency: Select frequency for product page updates. The option includes (Always, Hourly, Daily, Weekly, Monthly, Yearly and Never)
-
Priority: Enter priority from the range (0.0 - 1.0), set higher priority for homepages, etc.
-
Add Images into Sitemap: This option will let you include images into the XML sitemap. Options include:
- None: Images will not be included in the sitemap.
- Base: Only based images will be included in the sitemap.
- All: All images will be included in sitemap.
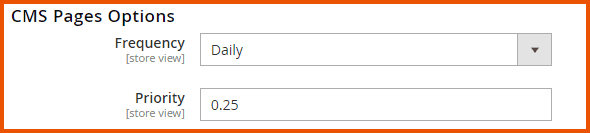
XML Sitemap > CMS Pages Options
- Frequency: Select frequency for CMS pages updates. The option includes (Always, Hourly, Daily, Weekly, Monthly, Yearly and Never)
- Priority: Enter priority from the range (0.0 - 1.0), set higher priority for homepages, etc.
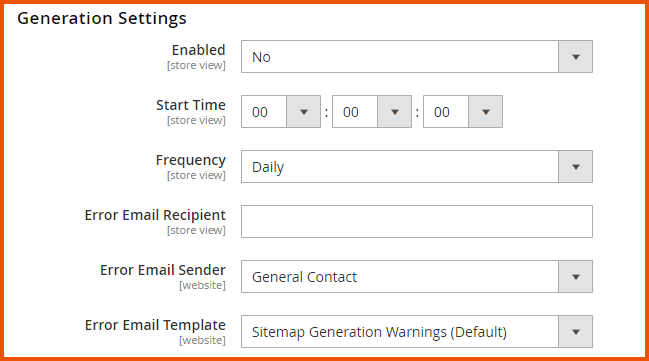
XML Sitemap > General Settings
- Enabled: Option to Enable / Disable XML sitemap
- Start Time: Set up the start time for sitemap generation
- Frequency: Setup frequency on the following basis:
- Daily
- Weekly
- Monthly
- Error Email Recipient: Option to set error email recipient
- Error Email Sender: Options to choose the sender for error emails:
- General Contact
- Sales Representative
- Customer Support
- Custom Email 1
- Error Email Template: Options to choose the template for error emails.
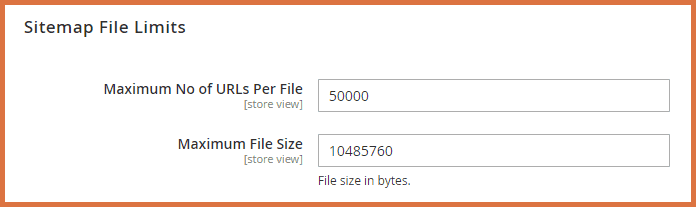
XML Sitemap > File Limits
- Maximum No. of URLs Per File: Option to set the maximum limit of URLs which can be placed in a file
- Maximum File Size: Option to set the limit of file size
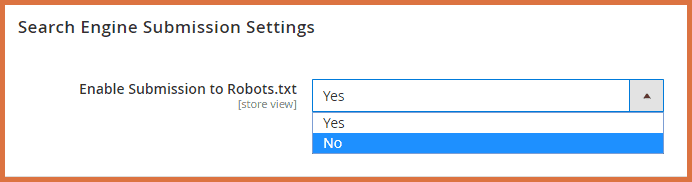
XML Sitemap > Search Engine Submission Settings
- Enable Submission to Robots.txt: Option to enable submissions to robots.txt file
How to Configure HTML Sitemap?
At the back end, go to FME EXTENSIONS > HTML Sitemap Configurations. Here you have to provide the following information:
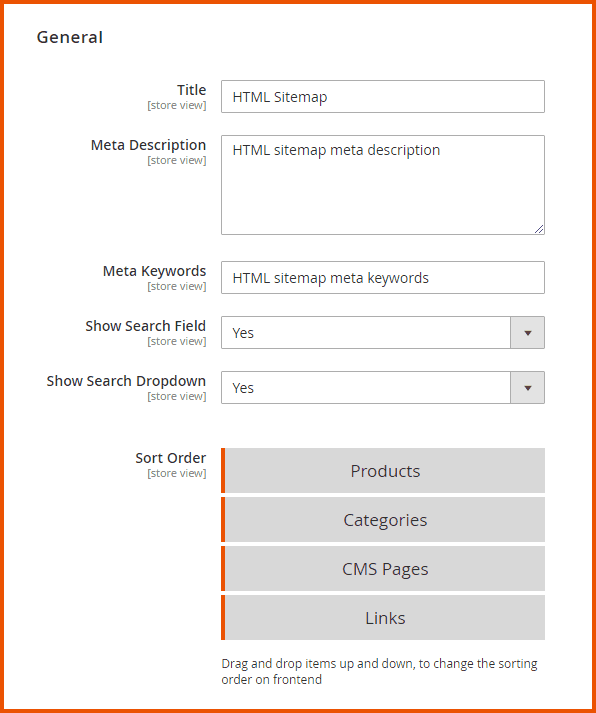
HTML Sitemap > General
- Title: Enter the title for the HTML Sitemap page.
- Meta Description: Enter Meta description for HTML Sitemap page.
- Meta Keywords: Enter Meta keywords for the HTML Sitemap page.
- Show Search Field: If selected to ‘Yes’, a search box would appear on top of the HTML sitemap, so that the user can search for custom items in the sitemap.
- Show Search Dropdown: If ‘Show Search Field’ is selected to ‘Yes’, this configuration will appear and from this, we can search in a specific category like Products, Categories, etc. A dropdown will appear just after the search box so that we can select for a specific category and apply our search on only that category.
- Sort Order: Sorting order of sitemap content.
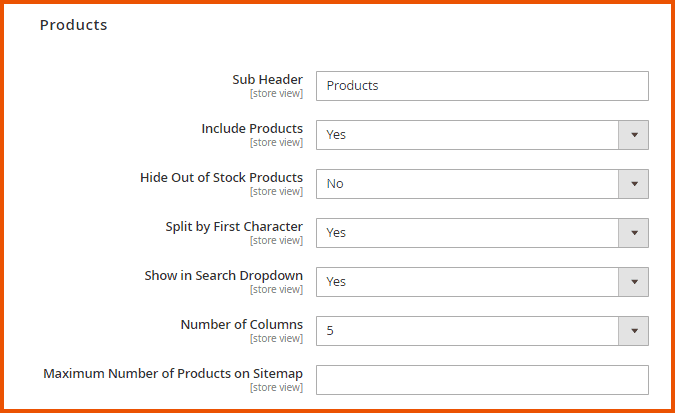
HTML Sitemap > Products
- Sub Header: Enter the heading for products block.
- Include Products: If selected to ‘Yes’, product block will appear in the sitemap.
- Hide Out of Stock Products: If selected to ‘Yes’, out of stock products will not appear in the sitemap.
- Split by First Character: If selected to ‘Yes’, corresponding letters will appear for each column.
- Show in Search Dropdown: If selected to ‘Yes’, product option will appear in the search dropdown to facilitate searching.
- Number of Columns: Select the number of columns for product block.
- Maximum Number of Products on Sitemap: Select the maximum number of products to display on the sitemap.
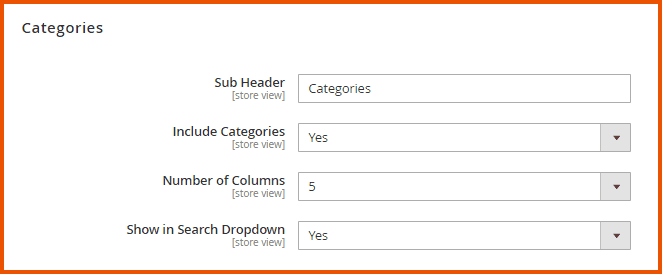
HTML Sitemap > Categories
- Sub Header: Enter the heading for categories block.
- Include Categories: If selected to ‘Yes’, Categories block will appear in the sitemap.
- Number of Columns: Select the number of columns for categories block.
- Show in Search Dropdown: If selected to ‘Yes’, categories option will appear in the search dropdown to facilitate searching.
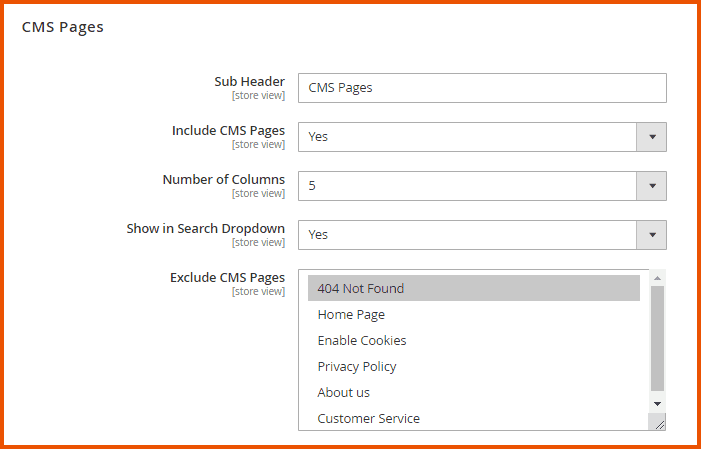
HTML Sitemap > CMS Pages
- Sub Header: Enter the heading for CMS pages block.
- Include CMS Pages: If selected to ‘Yes’, CMS pages block will appear in the sitemap.
- Number of Columns: Select the number of columns for CMS pages block.
- Show in Search Dropdown: If selected to ‘Yes’, CMS pages option will appear in the search dropdown to facilitate searching.
- Exclude CMS Pages: Select CMS pages to exclude from the sitemap.
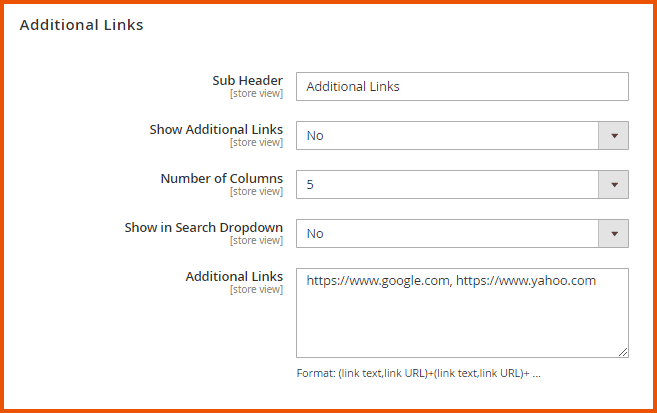
HTML Sitemap > Additional Links
- Sub Header: Enter the heading for Additional Links pages block.
- Show Additional Links: If selected to ‘Yes’, Additional Links block will appear in the sitemap.
- Number of Columns: Select the number of columns for Additional Links block.
- Show in Search Dropdown: If selected to ‘Yes’, Additional Links option will appear in the search dropdown to facilitate searching.
- Additional Links: Enter additional links to display on the sitemap. Follow the format which is mentioned below configuration. i.e. Format: (link text,link URL)+(link text,link URL)+ ...
How to Manage XML Sitemaps?
At the back end, go to FME EXTENSIONS > MANAGE XML SITEMAP. Here you will find the list of sitemaps. Click on the Add Sitemap button to create a new sitemap.

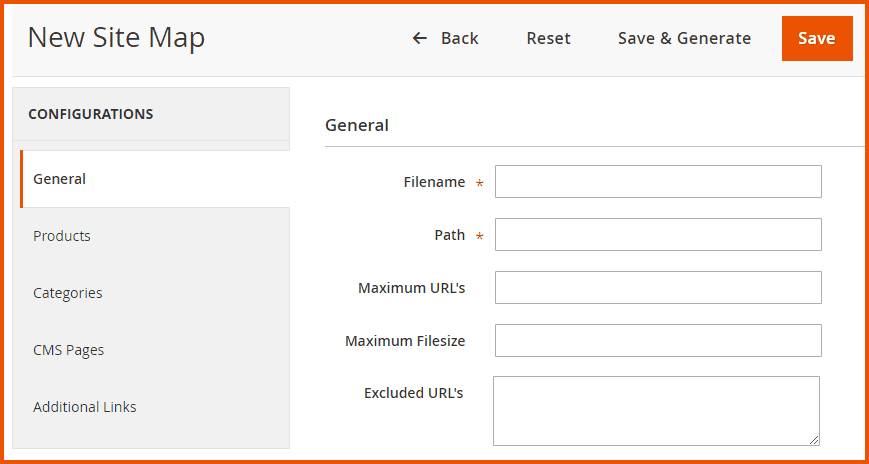
General
General configurations for the newly added sitemap.
- Filename: Enter the sitemap filename e.g. sitemap.xml
- Path: Enter the path for a sitemap file, use “/” for the base path.
- Maximum URL(s): Enter the Maximum number of URL(s) per sitemap file. For more information please visit Google documentation for XML sitemaps i.e. https://support.google.com/webmasters/answer/71453?hl=en
- Maximum File size: Enter the maximum file size for sitemap file in bytes
- Excluded URL(s): Enter URL(s) to be excluding from XML Sitemap, please follow the format mention below this configuration. i.e. URL1, URL2, URL3, …
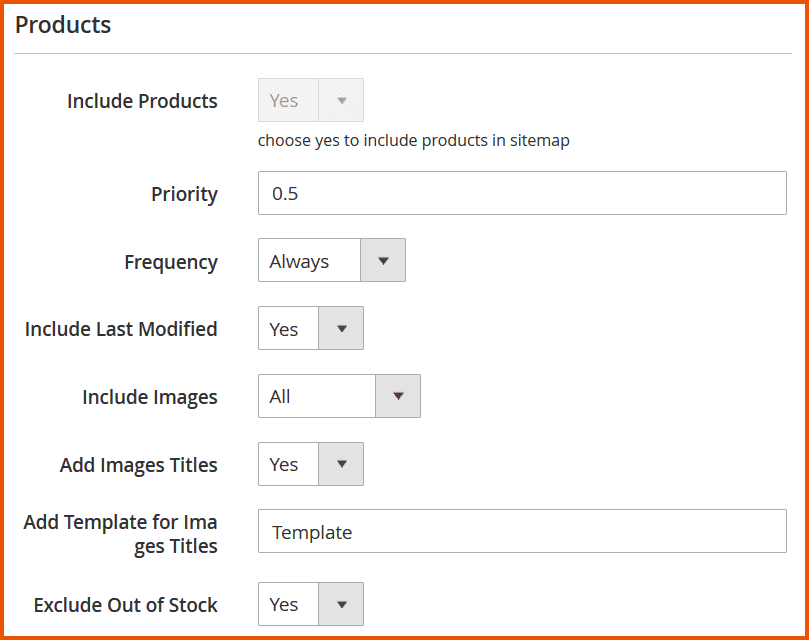
Products
-
Include Products: If selected to ‘Yes’, product links would be included in the XML sitemap.
-
Priority: Enter priority from the range (0.0 - 1.0), set higher priority for homepages, etc.
-
Frequency: Select frequency for product page updates. The option includes (Always, Hourly, Daily, Weekly, Monthly, Yearly and Never)
-
Include Last Modified: If selected to ‘Yes’, the date is included when the page was last modified
-
Include Images: This option will let you include images into XML Sitemap. Options include:
- None: Images will not be included in the sitemap.
- Base: Only based images will be included in the sitemap.
- All: All images will be included in the sitemap.
Note: Add Images Titles & Template for images title, will work if add image is set to All or Base
- Add Images Titles: If selected to ‘Yes’, images titles will be included along with images
- Add Template for Images Titles: Template for images titles to improve SEO (Hint: Text to be used for empty captions, (product name) would be appended at last of specified caption)
- Exclude Out of Stock: If selected to ‘Yes’, out of stock product links will be excluded from the sitemap
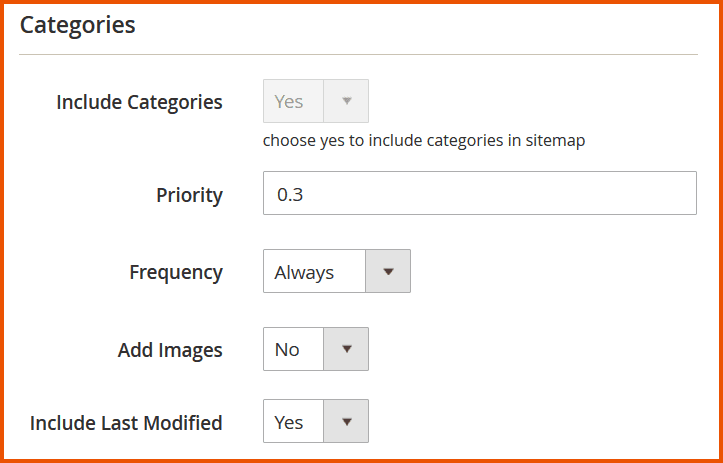
Categories
- Include Categories: If selected to ‘Yes’, categories links would be included in the XML sitemap.
- Priority: Enter priority from the range (0.0 - 1.0), set higher priority for homepages, etc.
- Frequency: Select frequency for categories pages. The option includes (Always, Hourly, Daily, Weekly, Monthly, Yearly and Never)
- Add Images: This option will let you include categories images into XML Sitemap
- Include Last Modified: If selected to ‘Yes’, the date is included when the page was last modified.
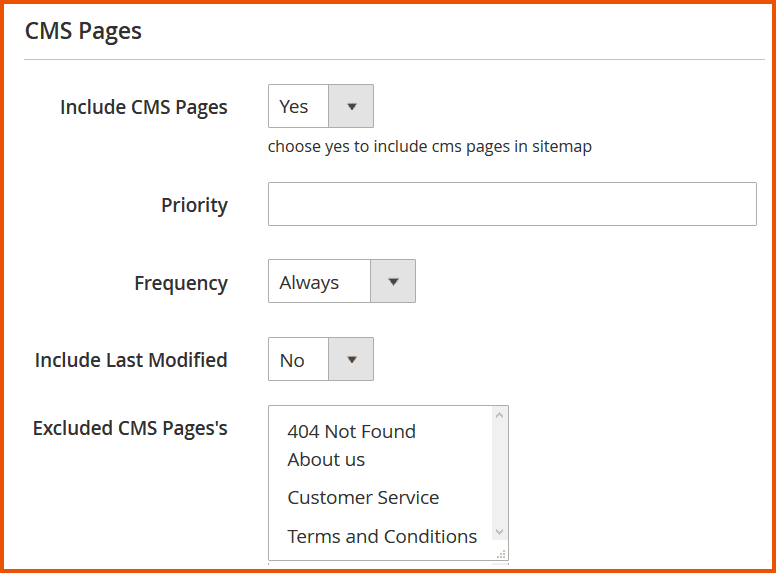
CMS Pages
- Include CMS Pages: If selected to ‘Yes’, CMS pages links would be included in the XML sitemap.
- Priority: Enter priority from the range (0.0 - 1.0), set higher priority for homepages, etc.
- Frequency: Select frequency for categories pages. The option includes (Always, Hourly, Daily, Weekly, Monthly, Yearly and Never)
- Include Last Modified: If selected to ‘Yes’, the date is included when the page was last modified.
- Exclude CMS Pages: Select CMS Pages to exclude from the sitemap.
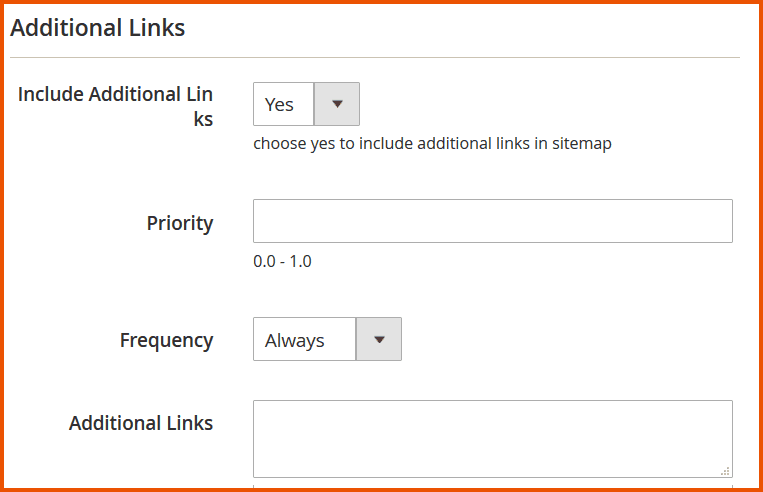
Additional Links
- Include Additional Links: If selected to ‘Yes’, additional links would be included in the XML sitemap
- Priority: Enter priority from the range (0.0 - 1.0), set higher priority for homepages, etc.
- Frequency: Select frequency for categories pages. The option includes (Always, Hourly, Daily, Weekly, Monthly, Yearly and Never)
- Additional Links: Enter additional links to include in sitemap. Please follow the format mentioned below the configuration. i.e. URL1, URL2, URL3, …
-
Press the Save button to save the sitemap.
-
Press Save and Generate button to save and generate the sitemap.
-
Press the link mentioned in the sitemap grid to view XML Sitemap.
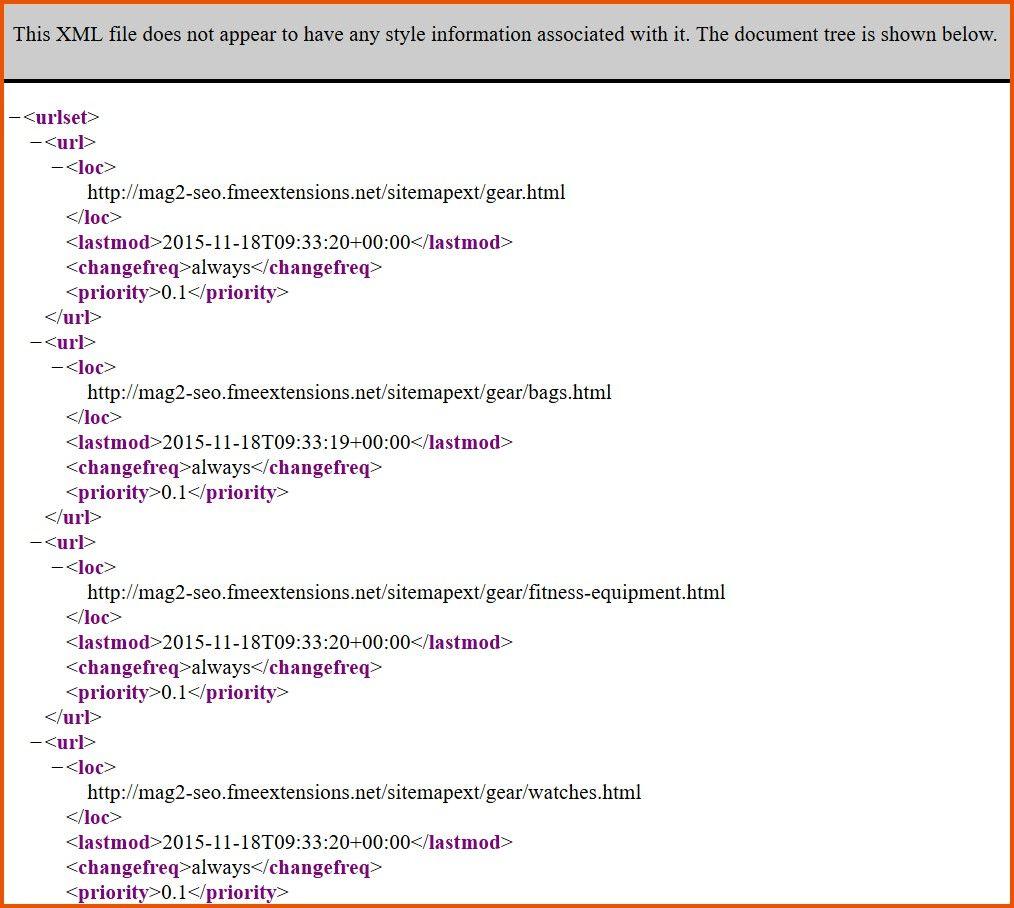
Generated Sitemap
Here is the generated XML Sitemap. You can always go back and edit this information.